Posts by Dan

    Gobig, the 7mm is $288. To answer about durability I'll quote hau's post http://spearfishing.world/wets…3-pursuit-wetsuits-2.html He brought the suit over for me to see and I was amazed that it did look like new. I think it's the fact that he loves the suit for the comfort and warmth it provides him and as such treats it with great care. I know that getting rolled in the surf as can happen on a beach dive you can't help damaging the suit sometimes but for that there are repairs. Otherwise for normal reaching into cracks and lying on the bottom these suits have very nice full length protection on the knees and elbows, without sacrificing flexibility of the suit in those areas.

    I'm guessing this problem has to do with the material the shooting line is made of. I've always used 400lb mono and never had this happen even once. I think 400lb mono is too stiff to tangle, the bands/wishbones will push it rather then mix with it.

    I don't see the necessity of such a long taper, you lose 2" of band material the way he does it, if you were to make a wishbone equally short. Although it's been said that it makes the band more hydrodynamic.


    Do not put aceite (oil) inside the bands.


    The band tying twine I recommended already comes waxed.


    The way he's tying the constrictor is called tying in the blight.


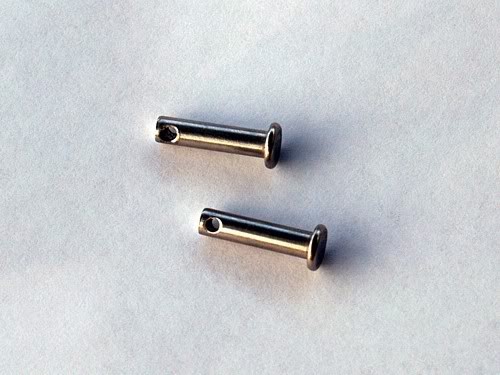
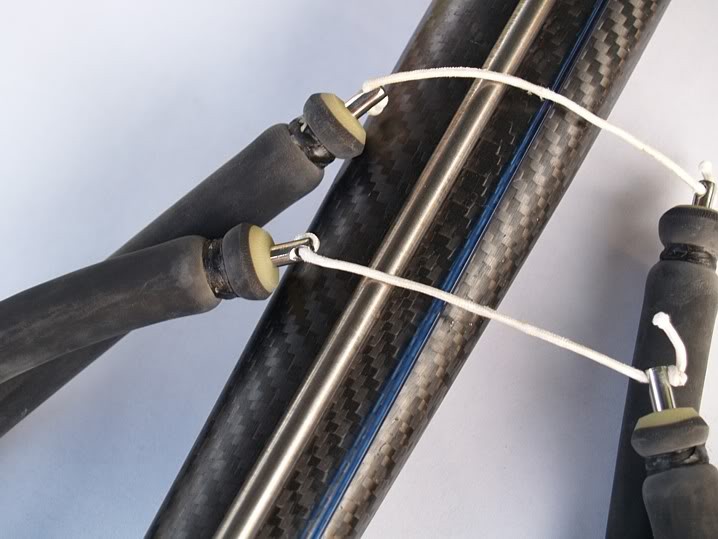
    I'm not a fan of metal wishbones (quitadedos), but at least that one is not sharp.

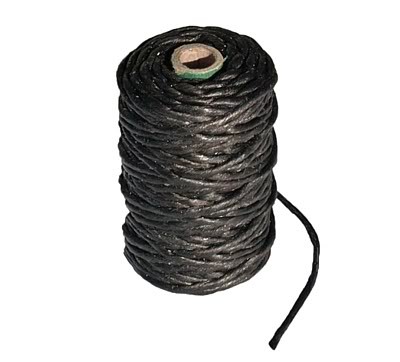
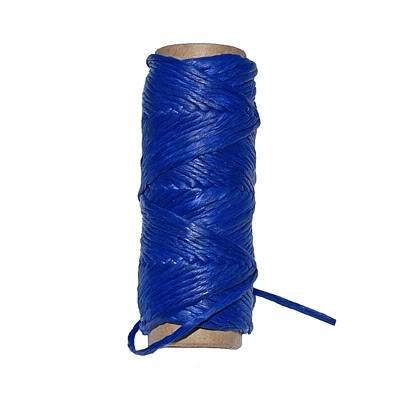
    This is the best band tying twine I've found http://www.freedivingspearfish…/46-band-tying-twine.html Except the black one they sent me was thinner than what I ordered and I'm still waiting for it to be replaced. The blue twine is perfect however and I have a few spools of it. Each spool is $8 and has approx. 80ft of twine.


    I taper my bands moderately using a bench grinder and a nail inside the band for support, and use inserts http://www.freedivingspearfish…/26-wishbone-inserts.html


    After constricting the band the rubber expands and engulfs the insert. I then grab it with a vice and pull out until it hits the knot. You can also use knots in the wishbone instead of the inserts, but the inserts make it very easy to replace a worn wishbone.


    If you're going to be using a knot at each end of the wishbone use one that ties big. The first knot to try is the double overhand stopper http://www.animatedknots.com/stopperrescue/index.php


    If that's not big enough for Dyneema try to find a bigger knot. I wouldn't use a bead, I think it would be hard to insert into my band material because of the difficulty of grabbing it firmly with pliers or anything else.


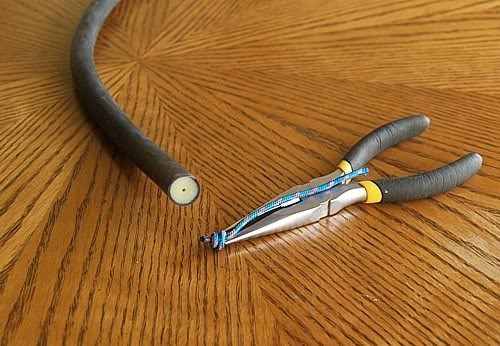
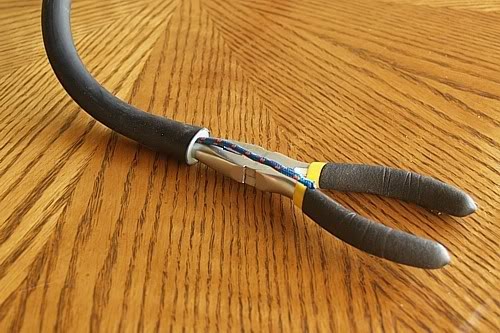
    I use spit to lubricate the knot and a back and forth twisting motion while pushing it in. It's not difficult to get inside the band.


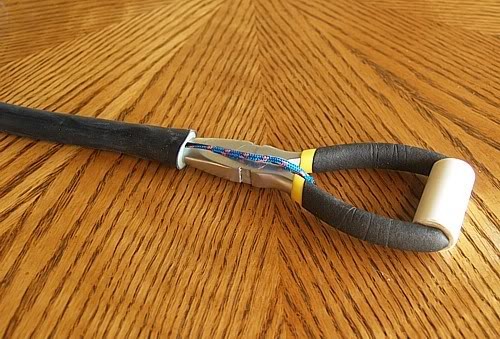
    I then use a piece of pvc tube to hold the pliers in the open position.


    I grab the knot through the rubber tube and pull out the pliers leaving the knot inside.


    By contrast notice how easy it is to insert a wishbone insert into this rubber tubing. I'm basically doing it with one hand after having lubricated it with spit.


    http://www.youtube.com/watch?v=bLTCi0yIRn4


    Another option is to make the bands with a replaceable wishbone using loops instead of inserts. For this you will insert a loop with a knot into the end of the band. The loop would be tied with an overhand loop knot http://www.associatedcontent.c…hand_loop_knot.html?cat=4 Because a loop has double the line the knot size is usually sufficient. For best results doing it this way the actual wishbone and the loop material should be of varying thicknesses. If they're not the end of the wishbone would need to be finished with an overhand knot so that it wouldn't slip through.


    Finally use a double constrictor knot to tighten the band around the wishbone http://en.wikipedia.org/wiki/Constrictor_knot I then do two more normal constrictor knots to enlarge the knot closer to the diameter of the band. These knots worked very well for me for tying bands, I never had a wishbone come out.


    Double constrictor knot.


    Constrictor knot.


    At some point I would like to do a more thorough tutorial but this should get you going for now. Also if you come to get the band material I'll just show you.

    Thanks for the pics Steve. I think this is very informative and later I'd like copy some of the posts, without the reference to Adrian's gun, to a separate thread titled something like trigger positioning.


    You are right, when I checked just now the trigger position on the gun I posted, this time with my finger straight, the trigger position was the same as the Cressi and the hybrid in your post #24. BTW is that the Cressi Geronimo handle?


    I'd like to add for reference that I've built another gun after the one in the pic, the one I said I put the handle too far and then reshaped the trigger. After reshaping the trigger the position of it with the index finger straight is exactly over the first joint. It works for me pretty good, when I flex the finger the trigger lands on the pad of the finger. It's a simple way of remembering the trigger position so I think the next gun I build will be the same. The distance from the crotch to the front of the trigger is 3".

    Monster didn't post in this thread ?(


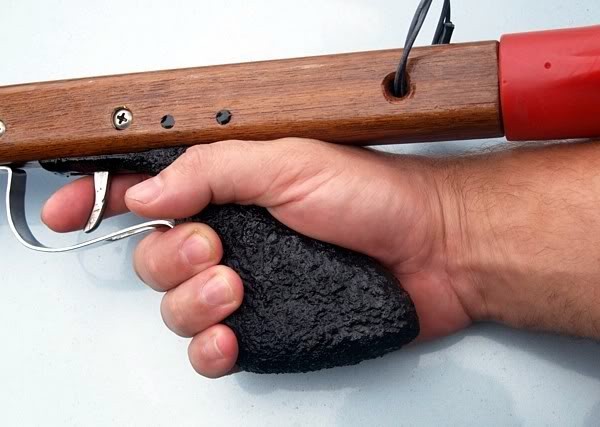
    My hands are not at all big, what you're seeing there is a handle that was custom made to my hand and as such fits it perfectly. In comparison with Adrian's pic you get the sense that he has a small hand, but it's just that the handle of his gun is big.

    Nice looking gun, I'm surprised you didn't show it off before. Kudos to your wife for getting you something for spearfishing. Although I'm not sure she realized you're a pipe gun kinda guy :)


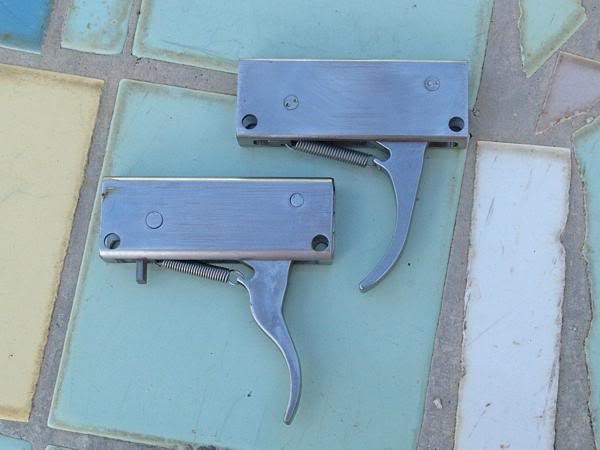
    I just measured the trigger pull on my gun which has the reef mech. It is as you say about 3/8". I never paid attention to this detail so obviously it never bothered me. What's more important to me is where the trigger is in relation to my index finger when gripping the handle. Building the gun myself I have control of this detail and I like the trigger just ahead of the first joint. From your pic it looks like the trigger is too close for my taste, this probably exaggerates the feeling of a longer pull.


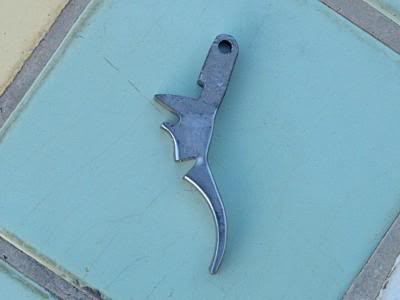
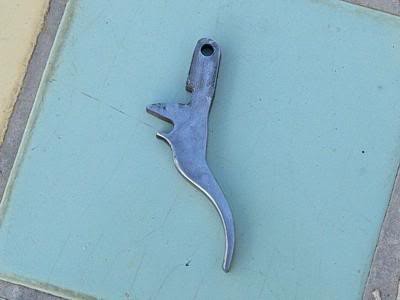
    With my last gun I actually messed up and put the handle too far back. I then cut and bend the trigger backwards, then had the gap filled in by a welder. Actually I went to the same guy you sent me to way back, I think it's off state rd 84. But he doesn't work there anymore. Another fellow there does these little jobs for me at a reasonable price.


    BTW I noticed that your gun has an automatic resetting line release which is working off a little tab/extension from the sear. It may seem that the line release doesn't have a very long range of motion, but don't worry about it, it releases the line flawlessly.